Image Optimization: A Small Step That Makes a Big Difference
When I began my website, I really focused on image optimization. Along with all the On-page SEO factors like the design, content, pages, and overall look of the website, I focused on image optimization too.
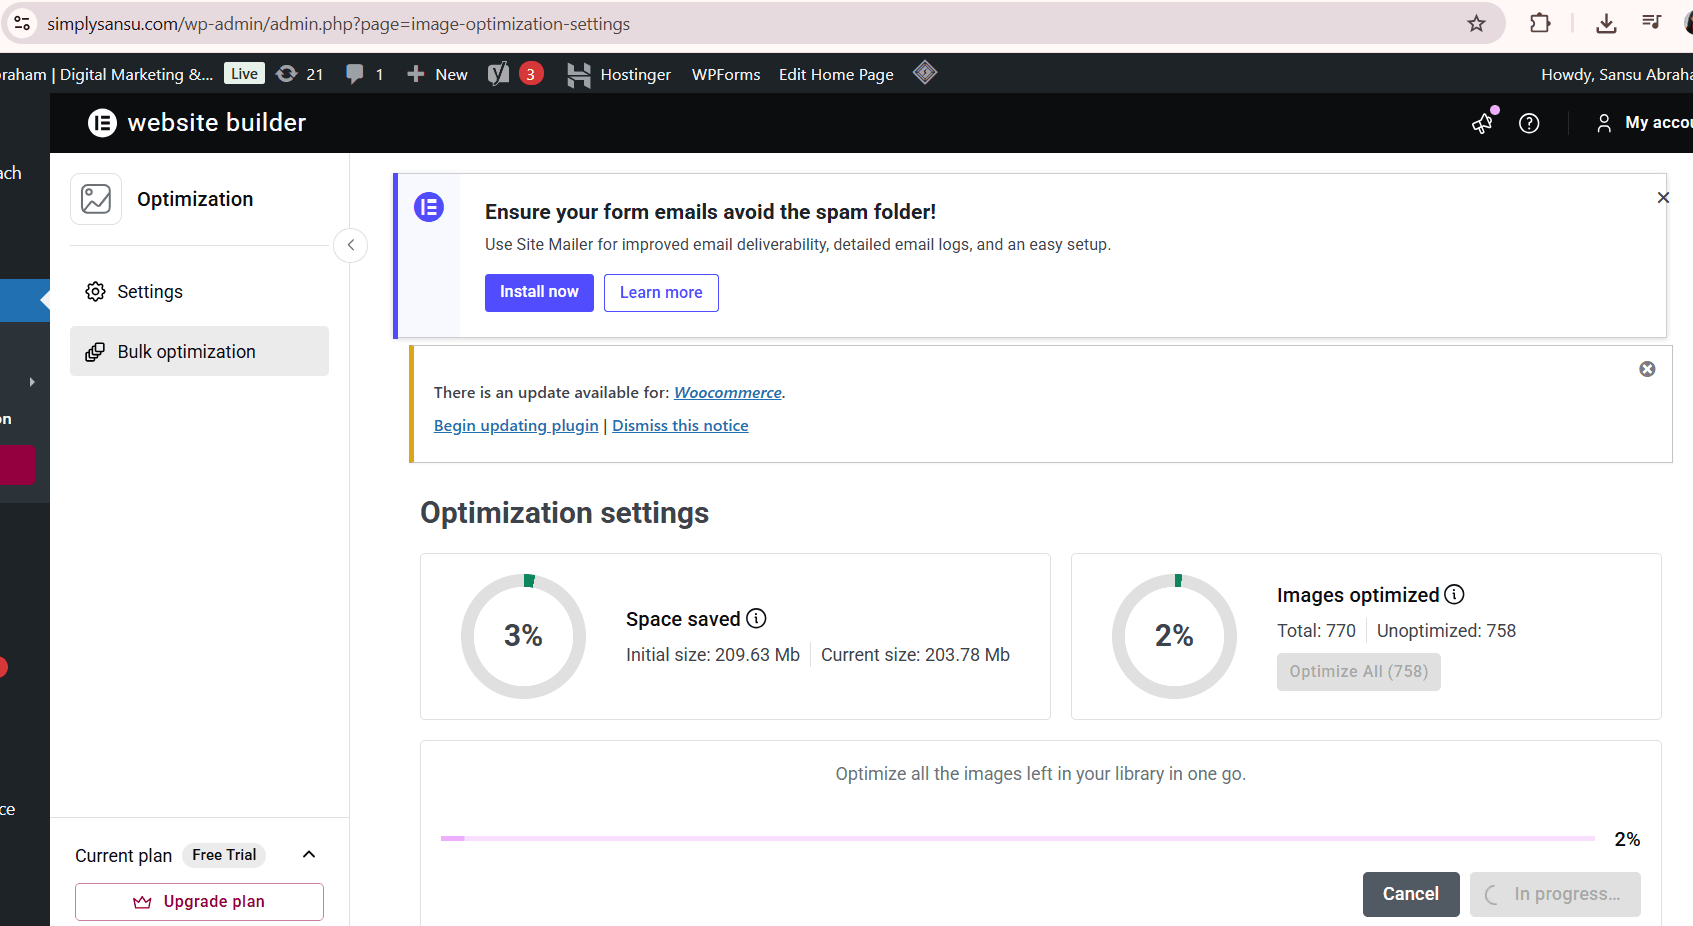
As I was working on my website, I started checking my website speed scores and performance reports. Based on the reports, I repeatedly did optimization for all images.
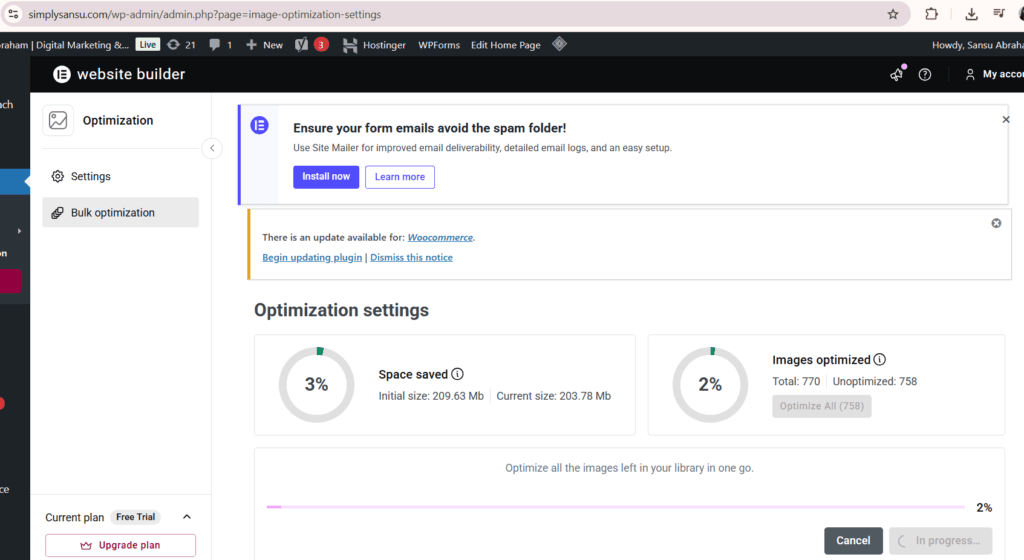
With each optimization, I could save space.
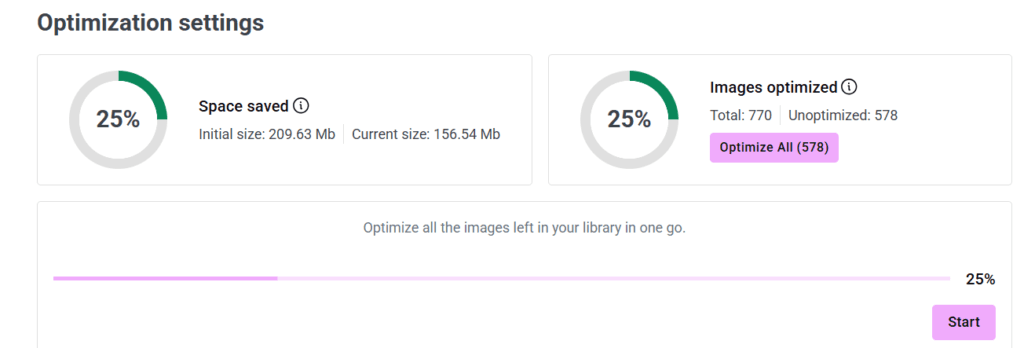
I was well aware of the difference these optimized images can make. I opted for bulk optimization.

Like modern websites, my website uses or relies on a lot of visuals. But it shouldn’t increase the loading time of the website which would seriously impact the User Experience (UX). A faster site offers a better user experience. Visitors are more likely to stick around when things load quickly rather than keep hitting refresh.
On a webpage, images like banners, blog pictures, portfolio shots, and product photos often make up the largest file sizes. These big files take longer to load, particularly on slow internet and mobile phones.
For example, there were the images of Ebook, especially the cover pages, the main images of the Home page and the contact us pages that were quite heavy. I noticed many of the images were bigger than needed—they looked the same on screen, but the file sizes varied greatly. They looked identical on the screen, yet some files were several times larger than others.
So, while working on my site, I focused more on image dimensions. I optimized every single image including the local images.
The goal was to shrink file sizes without ruining the quality.

Image optimization also has SEO benefits. Search engines consider website performance as one of many factors when evaluating websites. While image optimization alone will not guarantee higher rankings, it certainly contributes to a healthier and more efficient website.
During simplysansu.com’s development, I made sure to resize pictures before uploading them. I also experimented with image compression tools and optimization plugins. The difference was immediately noticeable.
Pages loaded faster. Performance scores improved.
The overall experience felt smoother.
I was really surprised at how easy it was. Just a few more minutes on an image can save visitors from loading lots of extra data.
Now, image optimization is just part of my routine. I always check dimensions, file size, and format before uploading. It’s become second nature to me.
If you’re building a website, optimizing images is super simple. You don’t need tech skills, pricey software, or all nighters – just some time and basic know-how.
It is a small step.
But sometimes small steps have a bigger impact than we expect.
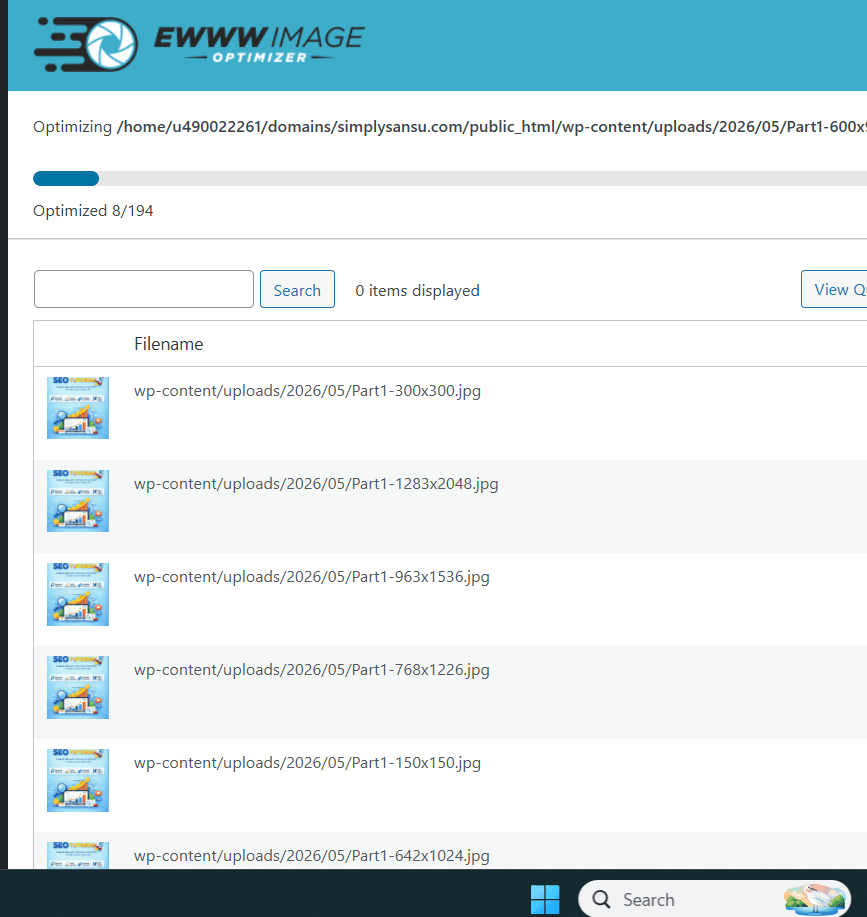
There are many plugins available for image Optimization. I was looking for a completely free image optimization plugin for WordPress. I compared between Smush, EWWW Image Optimizer, Image Optimizer, ShortPixel Image Optimizer. Int he end, I settled with EWWW Image Optimizer.
A few reasons for choosing this plugin”
- Unlimited image optimization on my server
- No monthly image limits
- Supports WebP conversion
- Popular for truly free optimization
As an extra step:
- Compressed all homepage images.
- Installed and configured caching.
- Minify CSS and JavaScript. (to some extent)
- Removed unnecessary plugins.
- Re-tested with PageSpeed Insights.
Those five steps often provide the biggest FCP improvement on a WordPress site.
Happy website building!